Whenever I’m doing a multi layer cyanotype I’m going through an inner struggle. Should I stop here or should I go forward as each next layer presents a risk of destroying a whole cyanotype
Before the exposure
This is the Kazakh beauty. I took this picture during World Nomad Games in Astana at the beginning of this year. The picture was simple, taken at random, in the ethnoaul – space designed to present Kazakstan regions, as well as traditional games and traditional art. I started to play with this picture in order to achieve close to vector image consisting of tri colours – brown, black and blue. Then you have to divide this picture into three pictures – where you have only the brown elements, next only with the yellow elements and the last one only with black elements. Then you export the negatives as pdf files and print.
You have to remember that after the bath paper shrinks. Sometimes the difference between the original size and the size after the cyanotype process which includes bathing sometimes is even 1 cm. When it happenes it is impossible to register dhe second and the third layer. To prevent that i bath my papers in a hot water for at least 30 minutes. After they dry, I coat them with the first layer of cyanotype.
In my case the print size is 50×65 cm, so it was a bit difficult to bathe the papers. I took the risk and I coated the paper that was not prebathed. It worked out 🙂
Step 2
Step 3
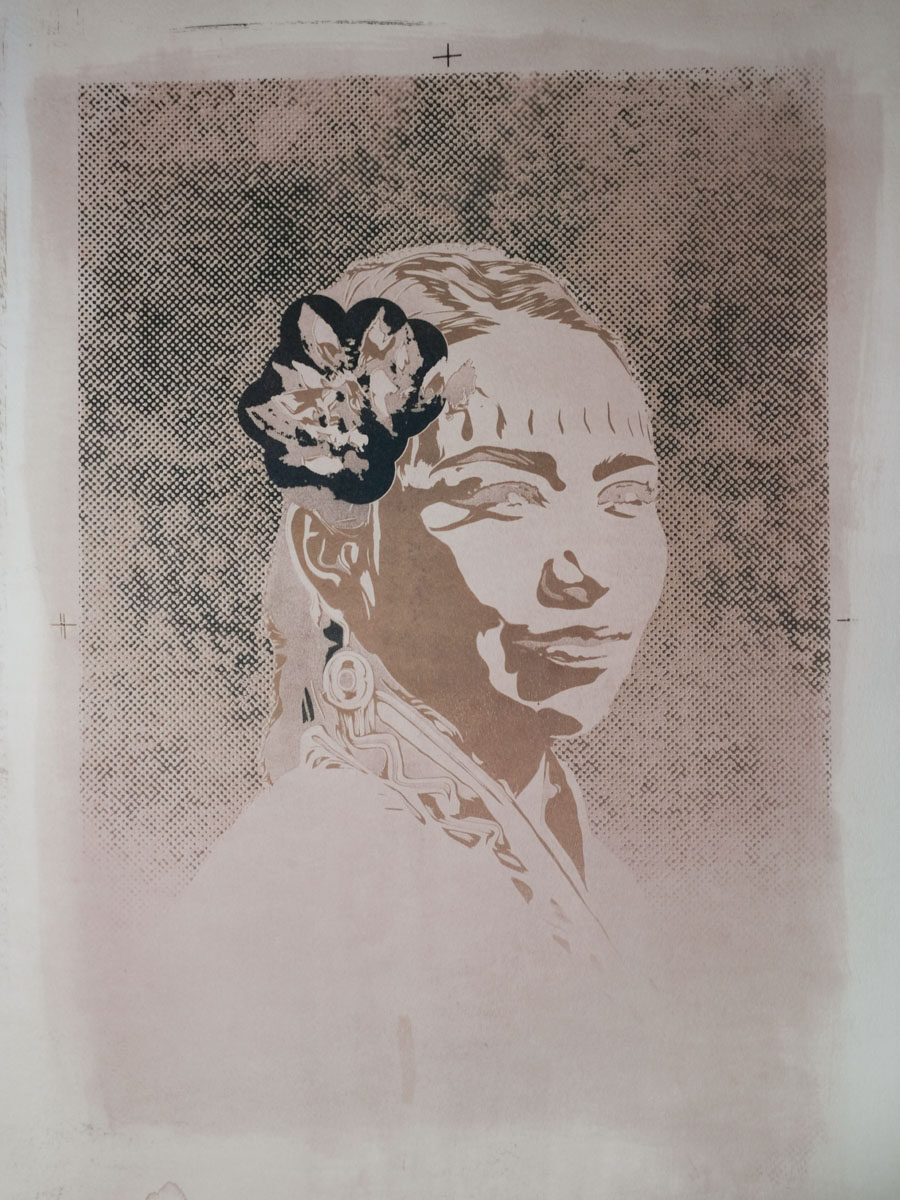
Step 1 yellow layer
My favourite toner for cyanotype is a black tea. It gives kind of lavendish brown colour on bleached cyanotypes and Lavendish black on blue cyanotypes.
The sequence of colours was: brown, black and blue.
So after I coated the paper, I exposed it, and bleached. I got a yellow image.
”My black tea toner proportion:
10 g for 1 l of water
Step 2 yellow and blue image
After bleaching my picture got yellow all over. When it dried, I coated it once again and exposed with the nagative prepeared for the black colour.
You can expose your cyanotypes on the sun. As I live in Poland, where the weather is totally unpredictable, I expose my works on a table for offset. It has quite powerful lamps – my regular times of exposure vary from 5 to 10 minutes.
Anyway it is impossible to say if the just -exposed image is good or not until you develope it. But I noticed, that there is quite high level of propability that i will like it 🙂 The final effect got far beyond my expectations. Isn’t it the moment I should stop? So far these two layers are registered, who knows if the next layer doesn’t spoil the image. After a while, I decided to go on, whatever it costs me.
”Toner works faster when it is warm, but it may stain the paper more, so be careful.
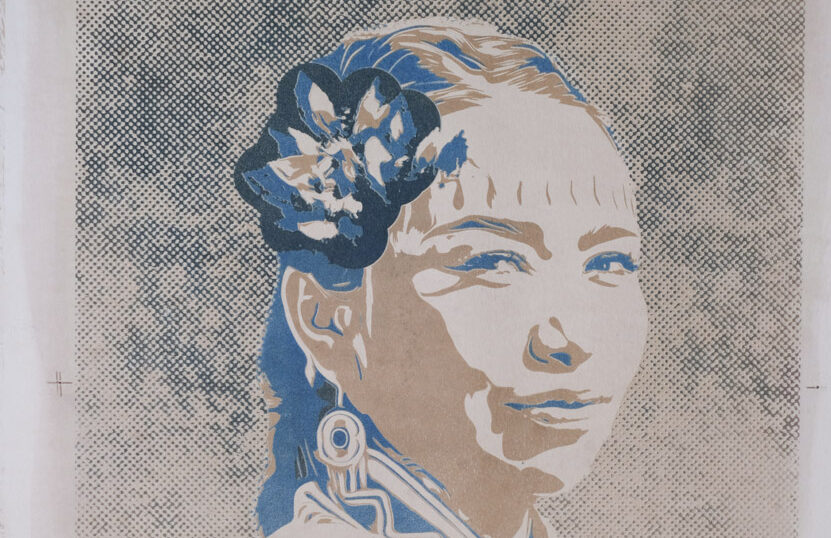
Step 3 brown and black detailes
So I bathed the picture in a black tea toner as long as the border of the flower got black. By that time the yellow parts had turned brown. I still liked the image, but it lost some of its beauty, so the decision if to go on was not difficult to take.
When the paper dried, I coated it for the last time and exposed with cyan negative on.
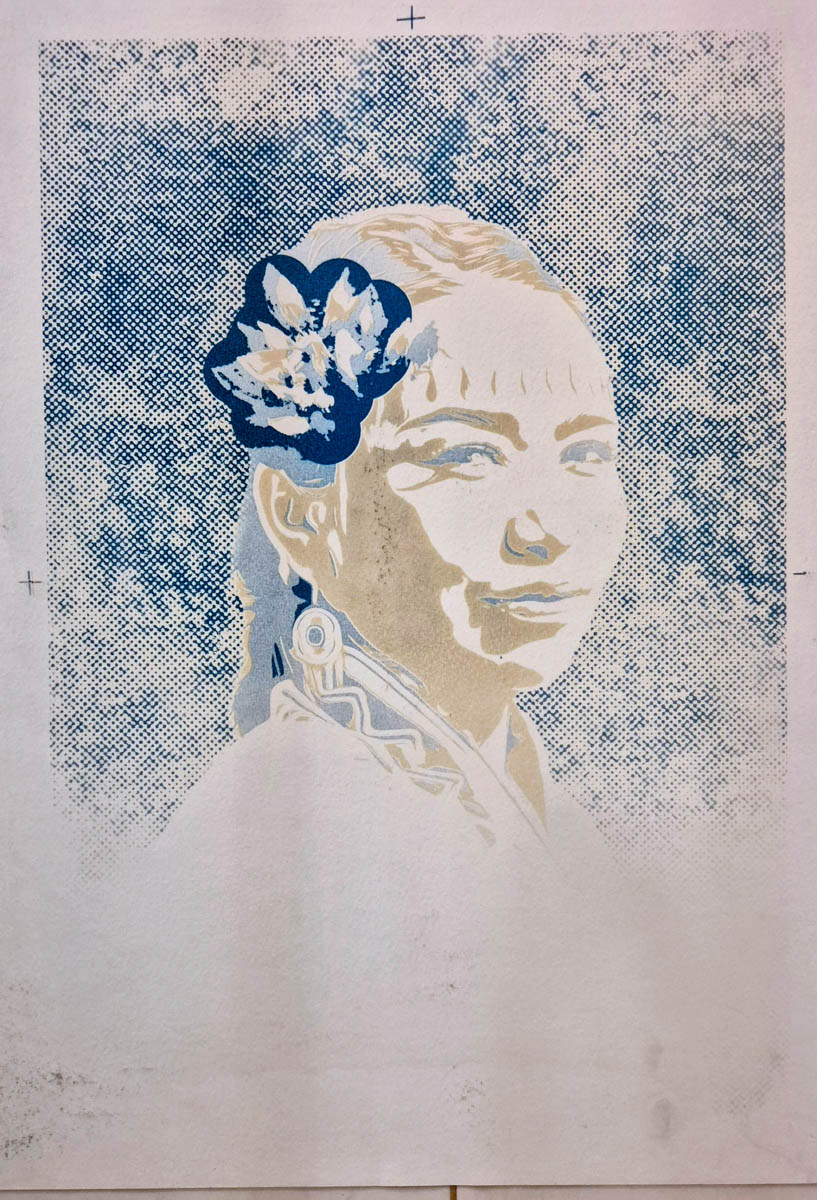
Step 4 Final blue layer
After the third exposure, the image was ready to develop. yo cant imagine how anxious I was to see the last layer on my image. I took a deep breath… here it is! How do you like it? 🙂

Step 4